EPSON XP-320 Teardown
-
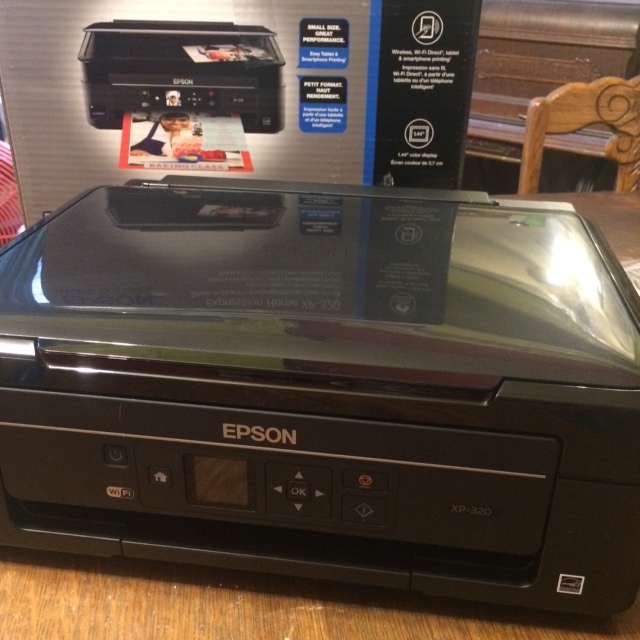
Fresh out of the box.
-
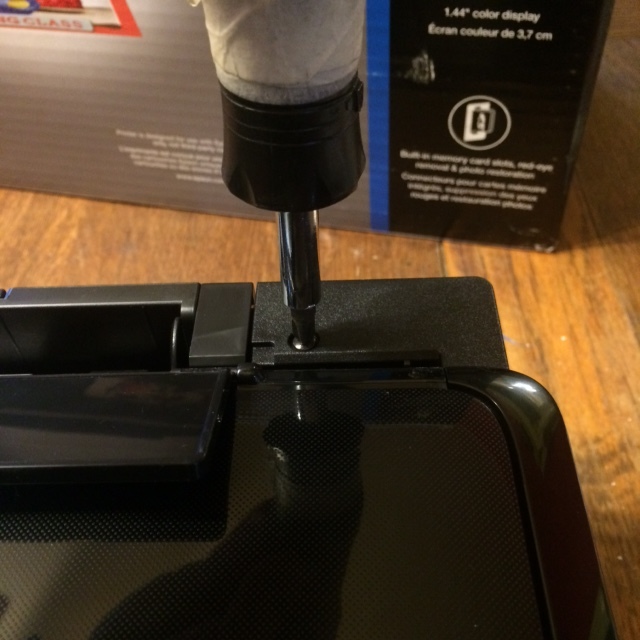
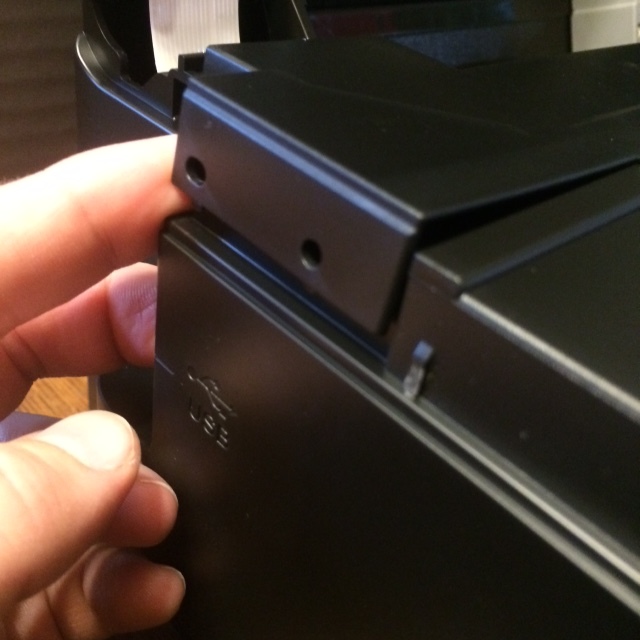
Remove the scanner hinge screw (x1).
-
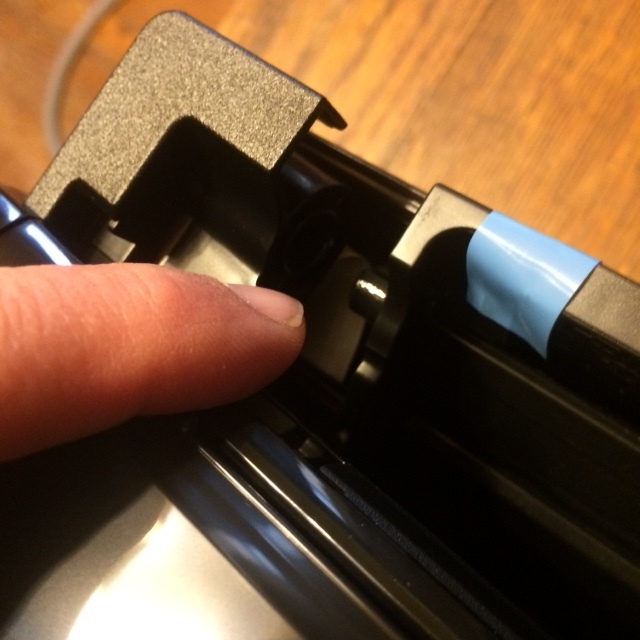
Pop the scanner from its hinge. Be careful not to tear the ribbon cable under this hinge!
-
Lift the scanner to the vertical position. Put the scanner against a wall or other vertical surface while you perform the next steps.
-
Remove the top cover screw (x1).
-
Pop the top cover free on the left of the printer.
-
Remove the top cover.
-
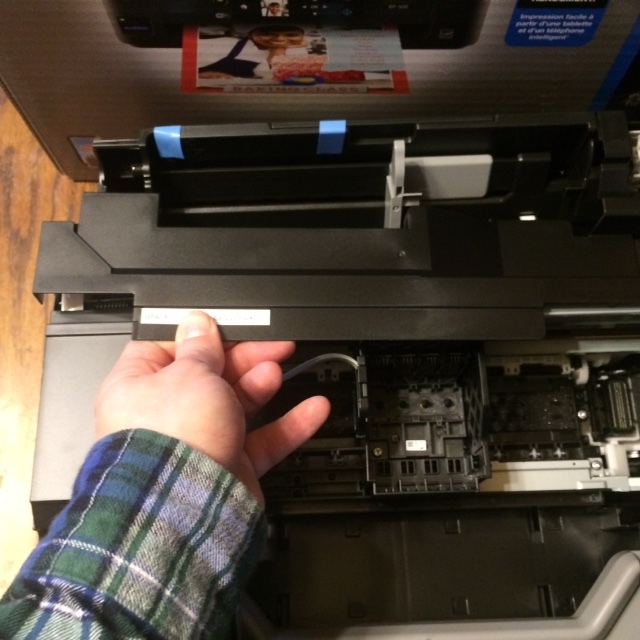
Disconnect the scanner flex cable under the top cover.
-
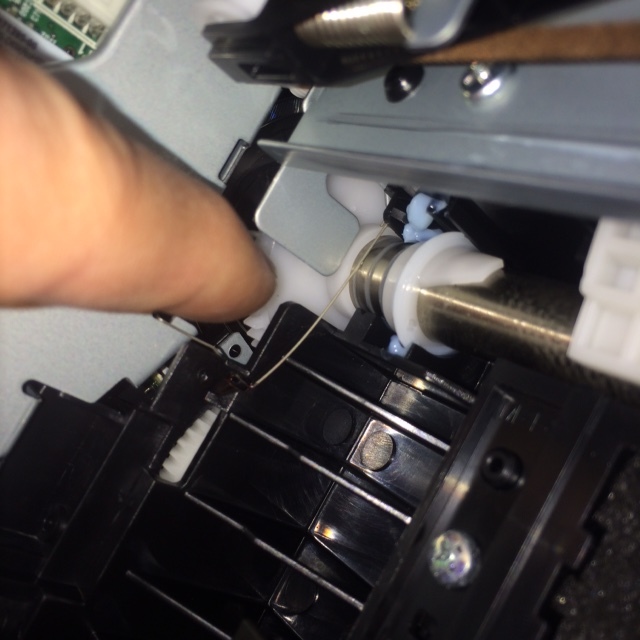
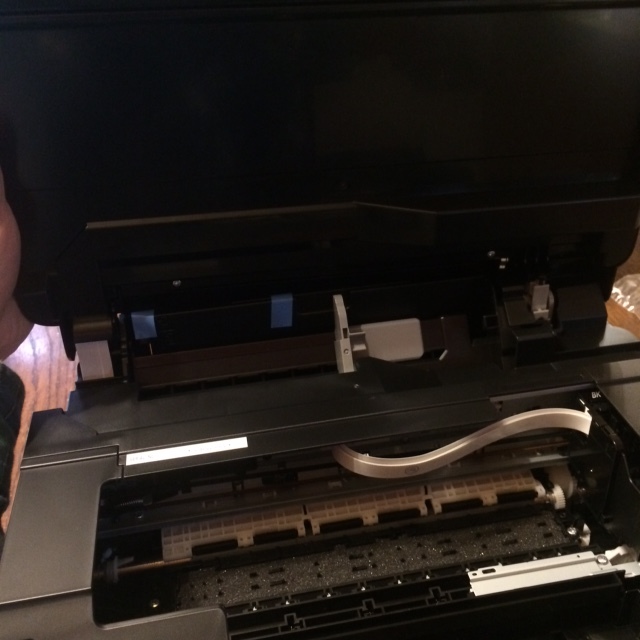
Rotate the carriage maintenance gear towards the front until the head carriage is release from the capping station.
-
Gently move the carriage to the middle of the bed.
-
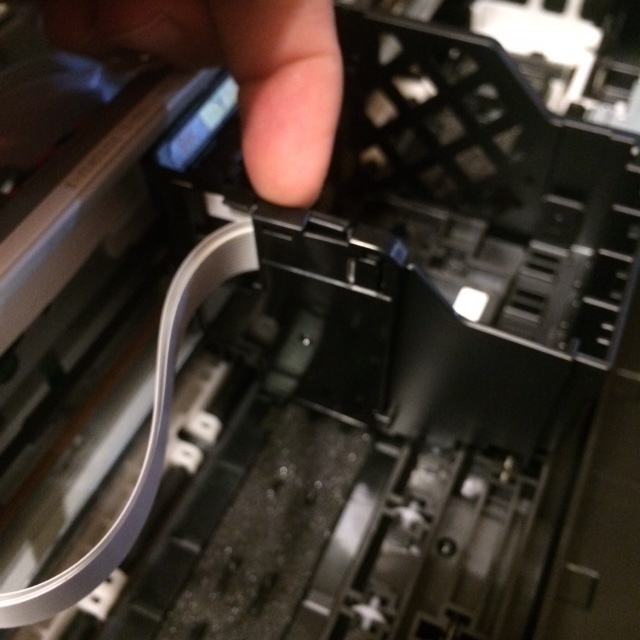
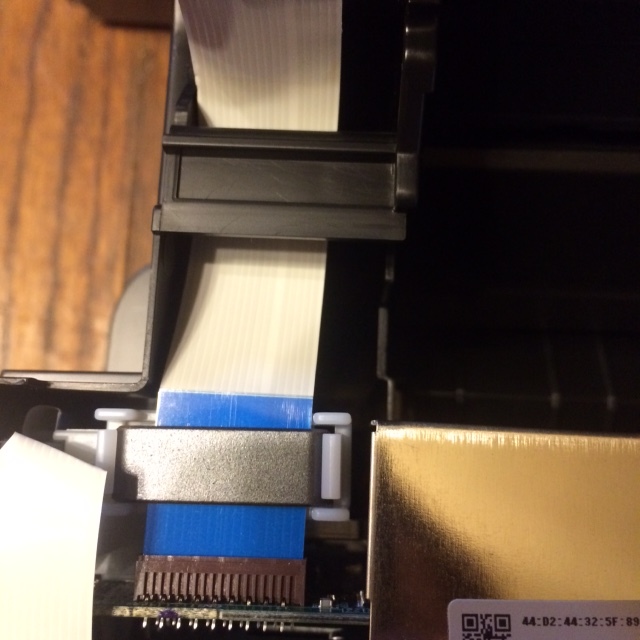
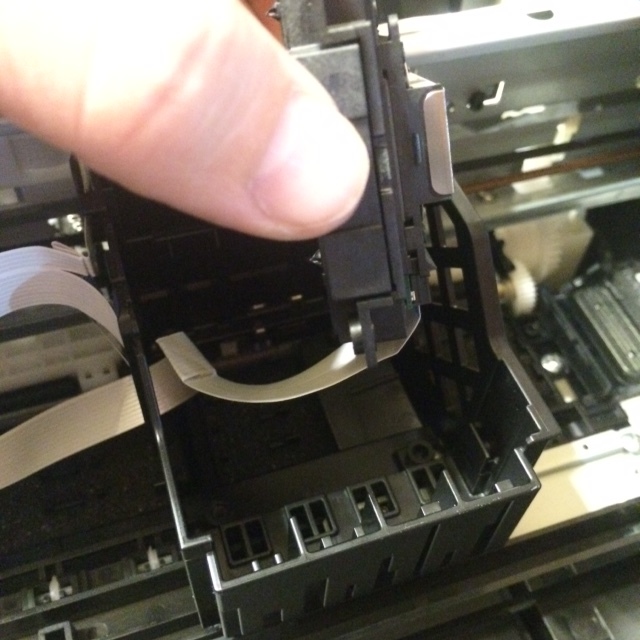
Unclip and remove the flex cable cover.
-

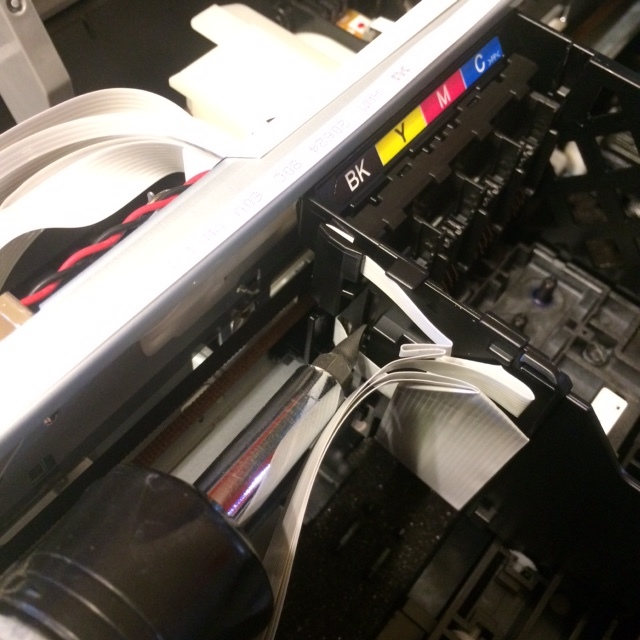
Remove the ink tank flex cable.
-
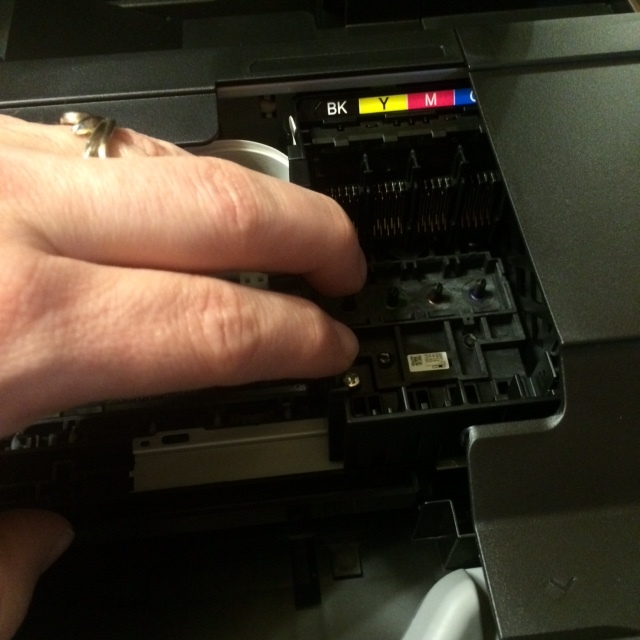
Using a flat blade, gently push in on the slots on either side to unclip the ink tank electronics card.
-
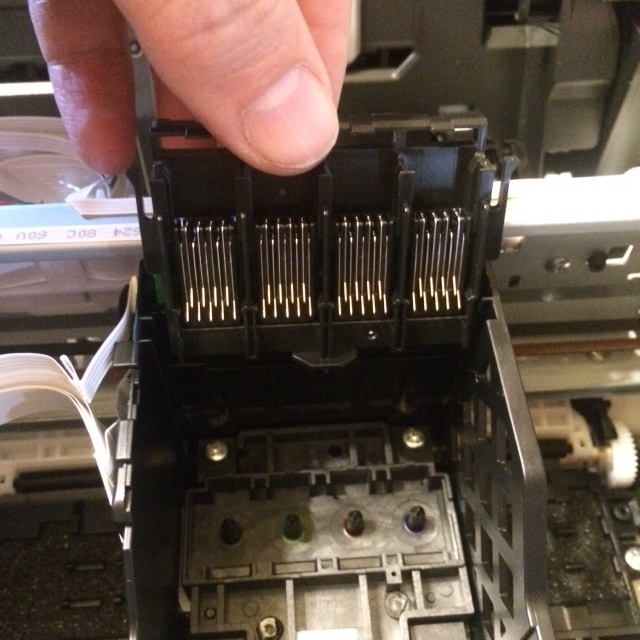
Remove the ink tank electronics card.
-
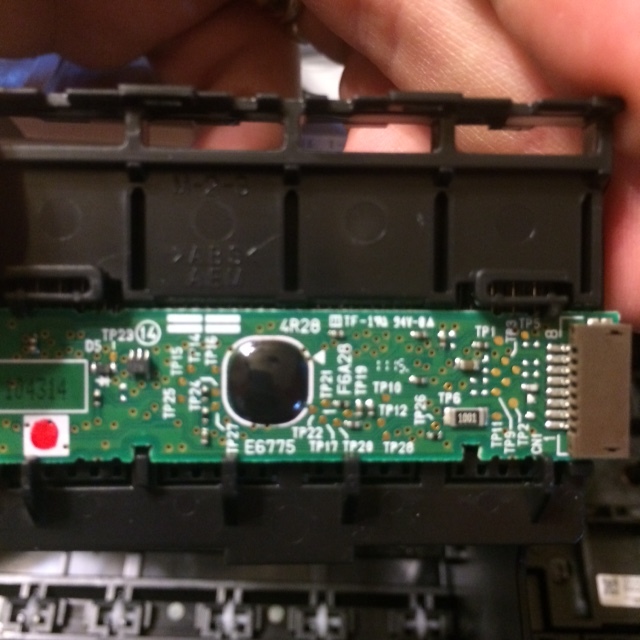
Inspect the ink electronics card for debris
-
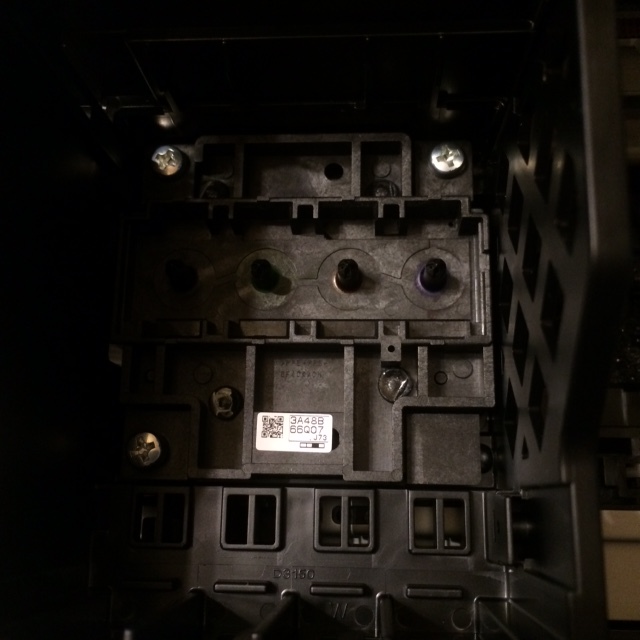
Unscrew the three retaining screws for the printhead
-
Gently remove the printhead. Take note of the flex cable path.
-
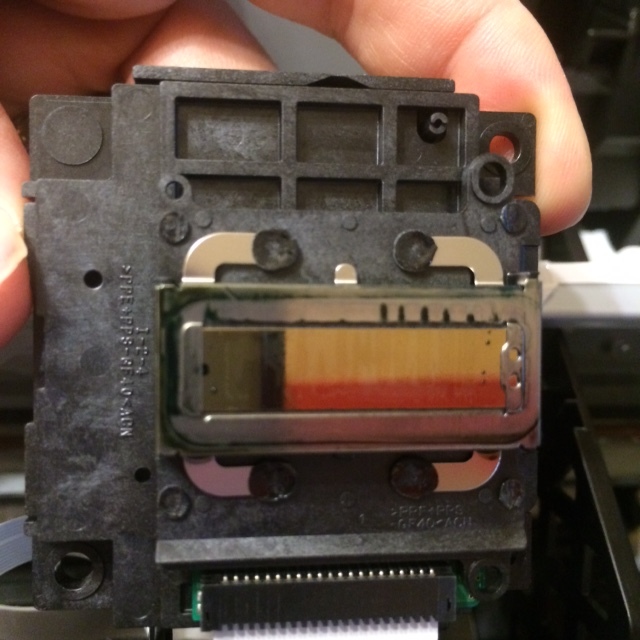
Inspect the printhead for scratches, ink globs, or other debris
-
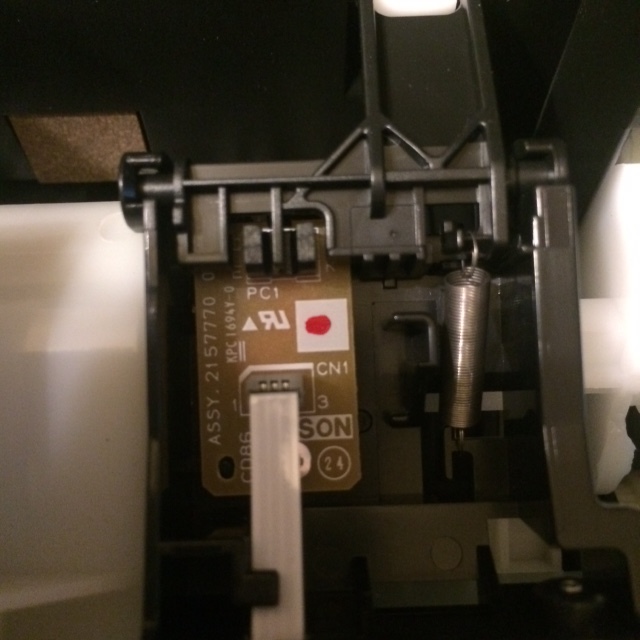
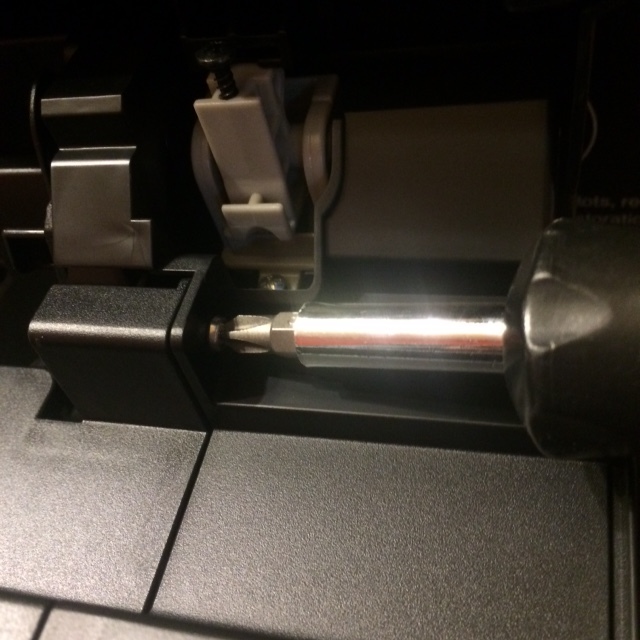
Paper-out sensor.
-
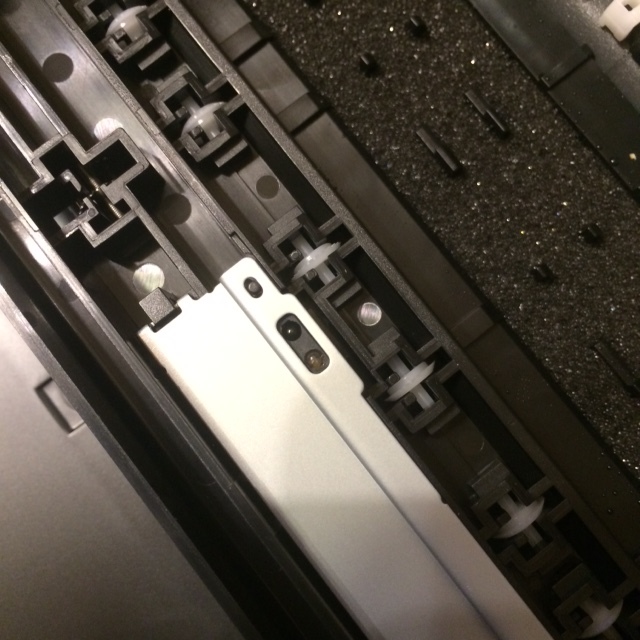
Start-of-page sensor.


